
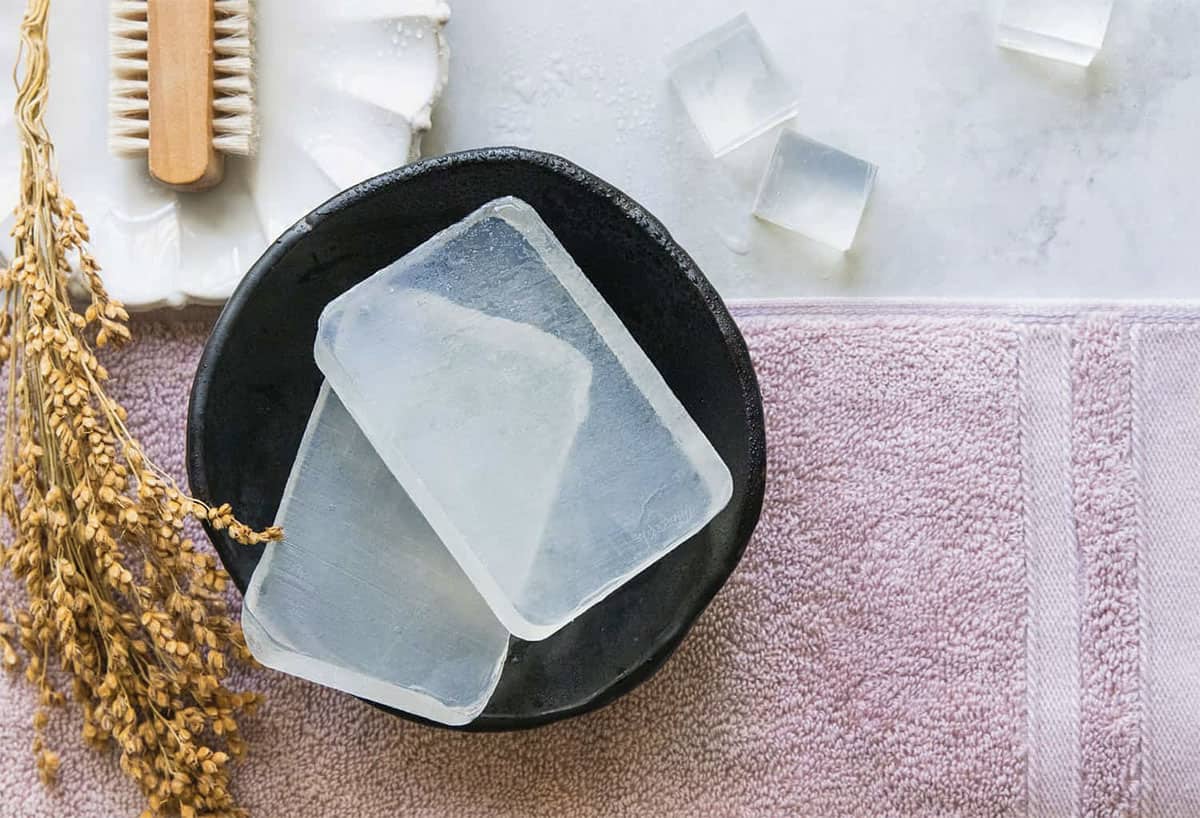
Prepared for a enjoyable melt-and-pour cleaning soap challenge? These straightforward exfoliating soaps not solely look and odor superb, however they’re good for a little bit of exfoliation when you lather up. Gently slough away useless pores and skin cells and lock in moisture with one magical cleaning soap bar and a bit of in-shower scrub session.
Cleaning soap-making can really feel intimidating, however when you get began, you may understand it is a straightforward and rewarding craft. I began out eager to make a mild, naturally exfoliating cleaning soap bar—however then bought completely carried away and made a number of variations.
Soften-and-pour cleaning soap is really easy to customise once you use a premade soap-making base (like glycerin or shea butter) from the craft retailer. It is like a kitchen science experiment, including in numerous textures and colours.
There are infinite variations, however listed here are some easy recipes to strive for a scrubby cleaning soap bar to buff off dry pores and skin.
Bounce to:
Components
- 1 lb (16 oz) melt-and-pour cleaning soap base
- 2 tablespoons distilled water
- Rubbing alcohol in a sprig bottle
- 2 tablespoons oil (olive oil, coconut oil, grapeseed oil, almond oil)
- ⅛ – ⅓ cup exfoliants (chia seeds, cornmeal, oatmeal, or espresso)
- Cleaning soap mould container (Any cleaning soap mould will work however therapeutic massage bar cleaning soap molds are enjoyable. You can even use glass storage containers or one thing from the recycling bin.)
Directions
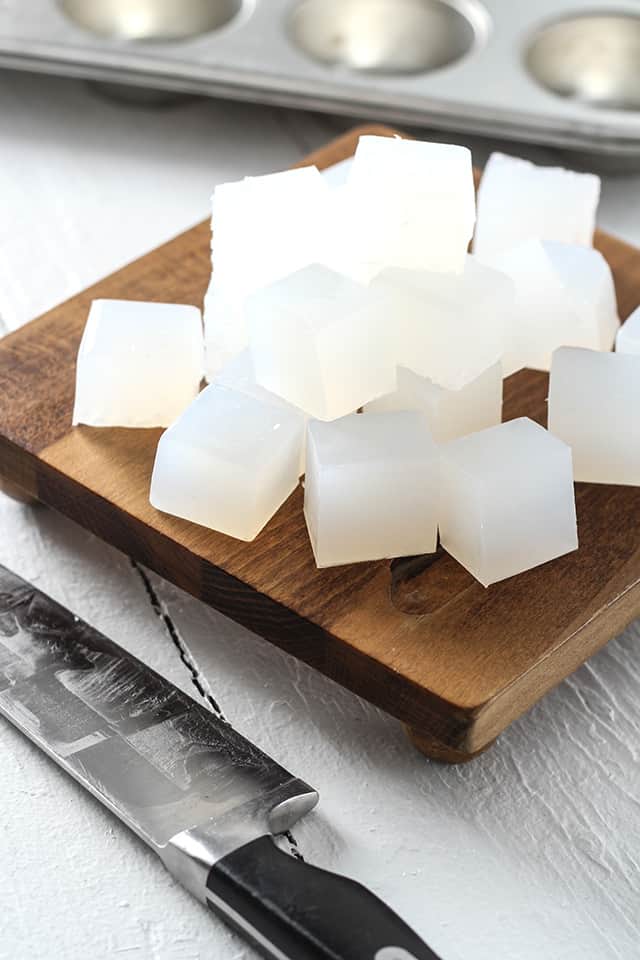
Step 1: Soften cleaning soap base
Reduce the glycerin cleaning soap block into evenly sized cubes (about 1-inch is sweet) and add them to a microwave-safe glass container. I normally do that in a Pyrex measuring cup for simple pouring.
Soften the cleaning soap within the microwave in 30-second intervals. Stir between every interval to interrupt up any clumps.
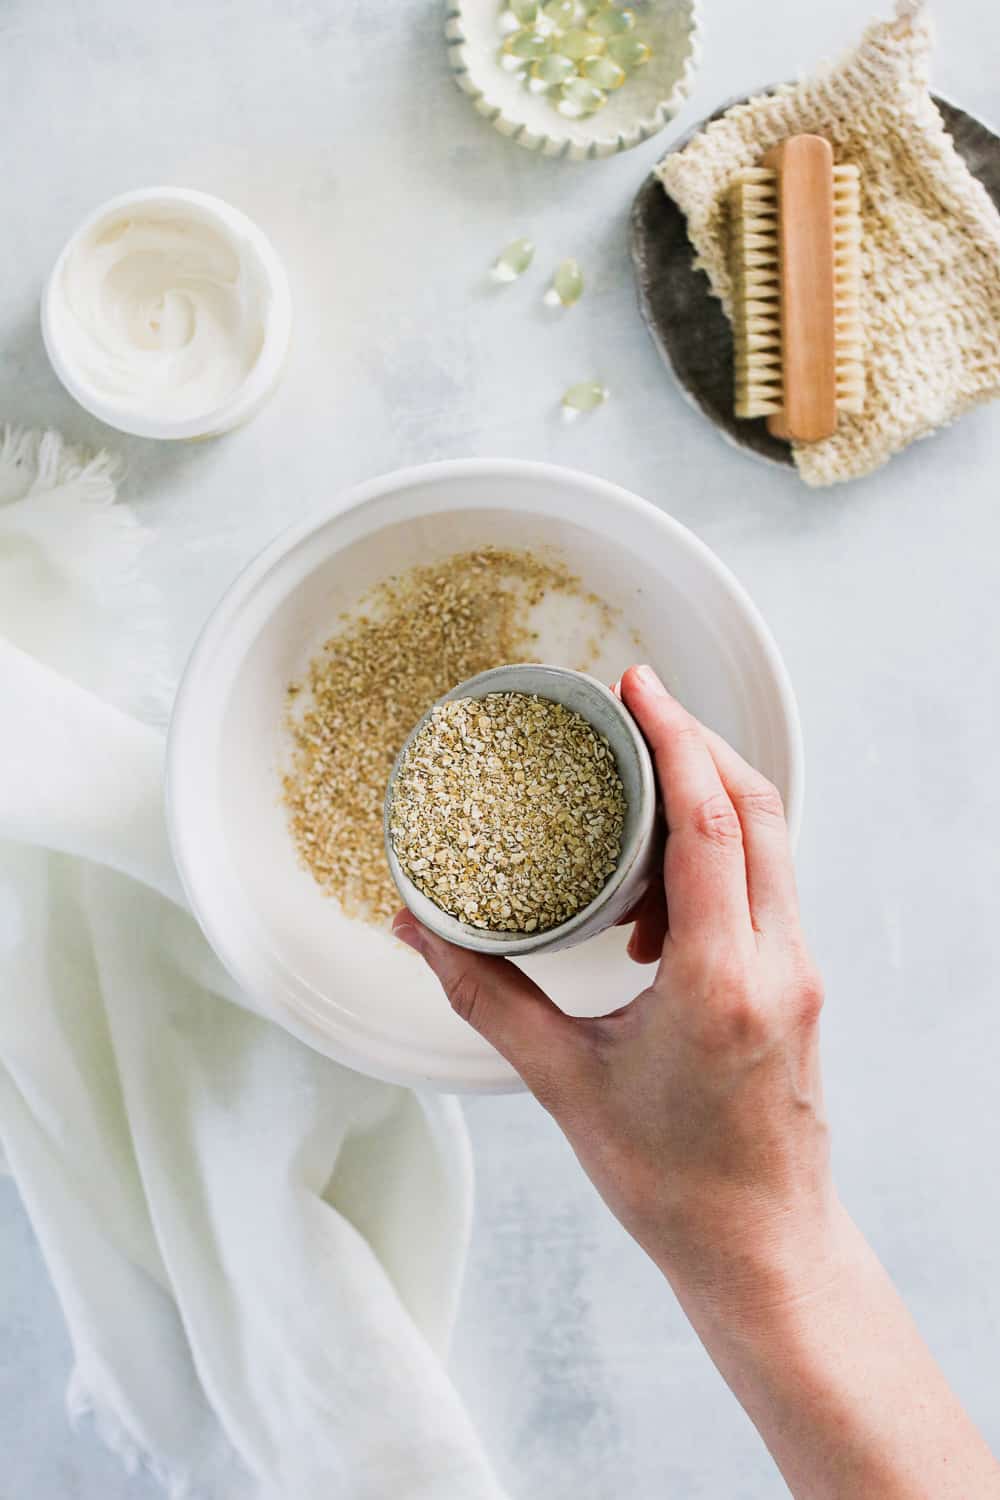
Step 2: Add remaining elements
When the entire cleaning soap is melted, let it cool barely, then add the oil, water, and dry elements. Stir or whisk every thing collectively. Hold mixing for 1–3 minutes till the combination begins to thicken.
Let the cleaning soap calm down till it will get a bit of bit thicker and begins to type a “pores and skin” on high. Then stir once more.
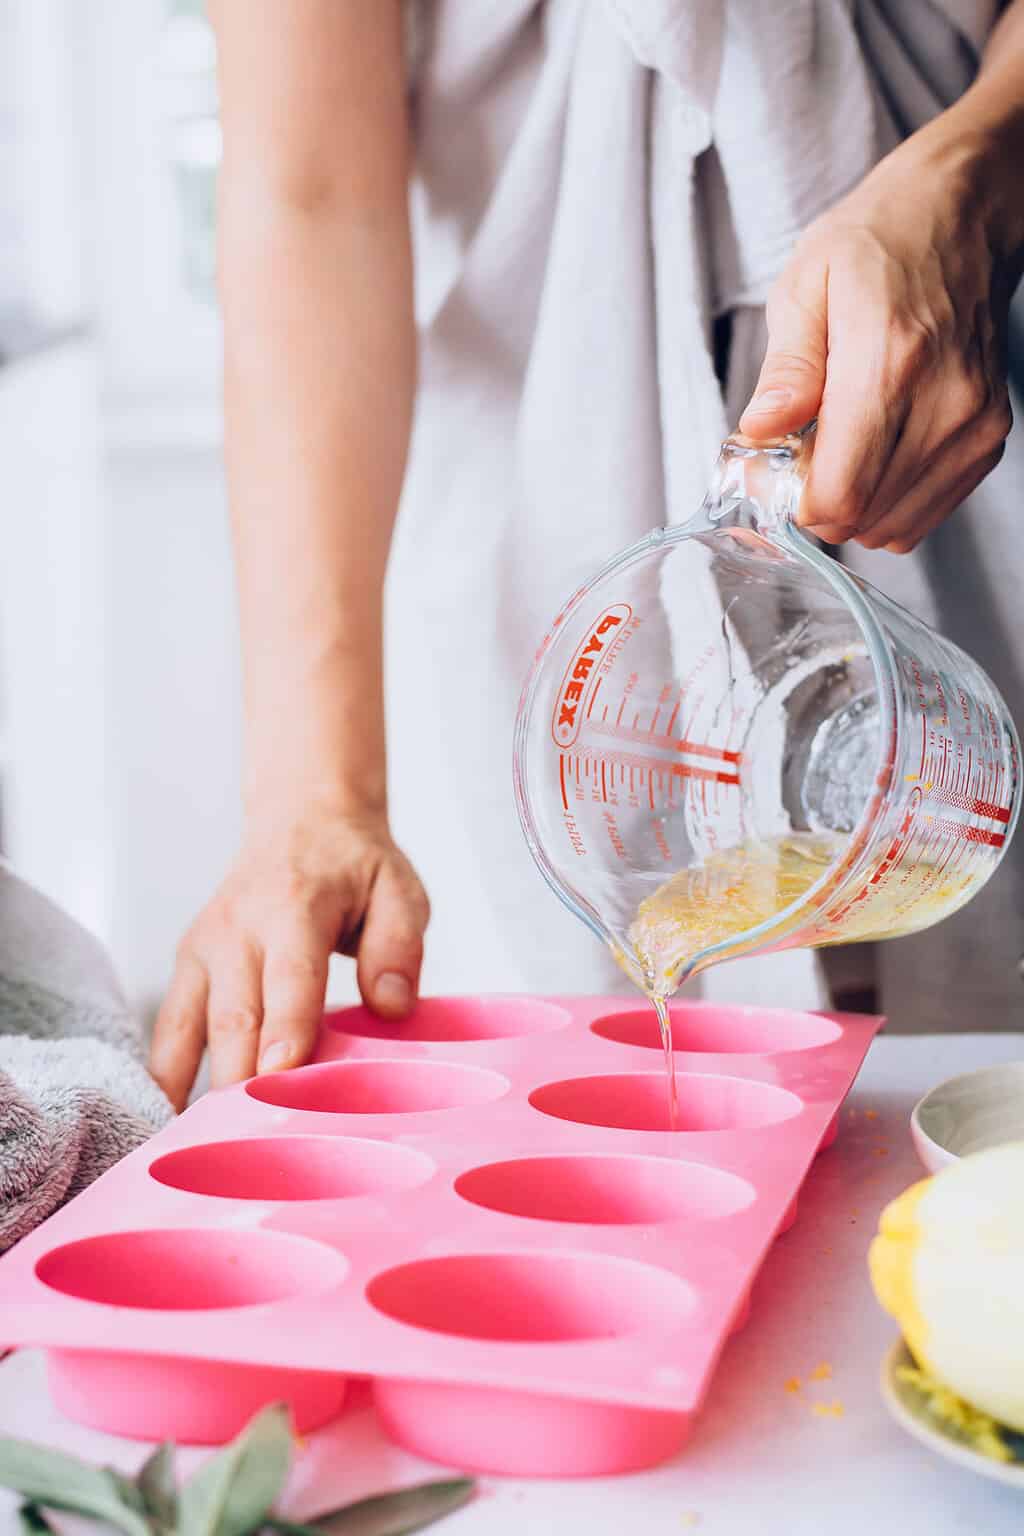
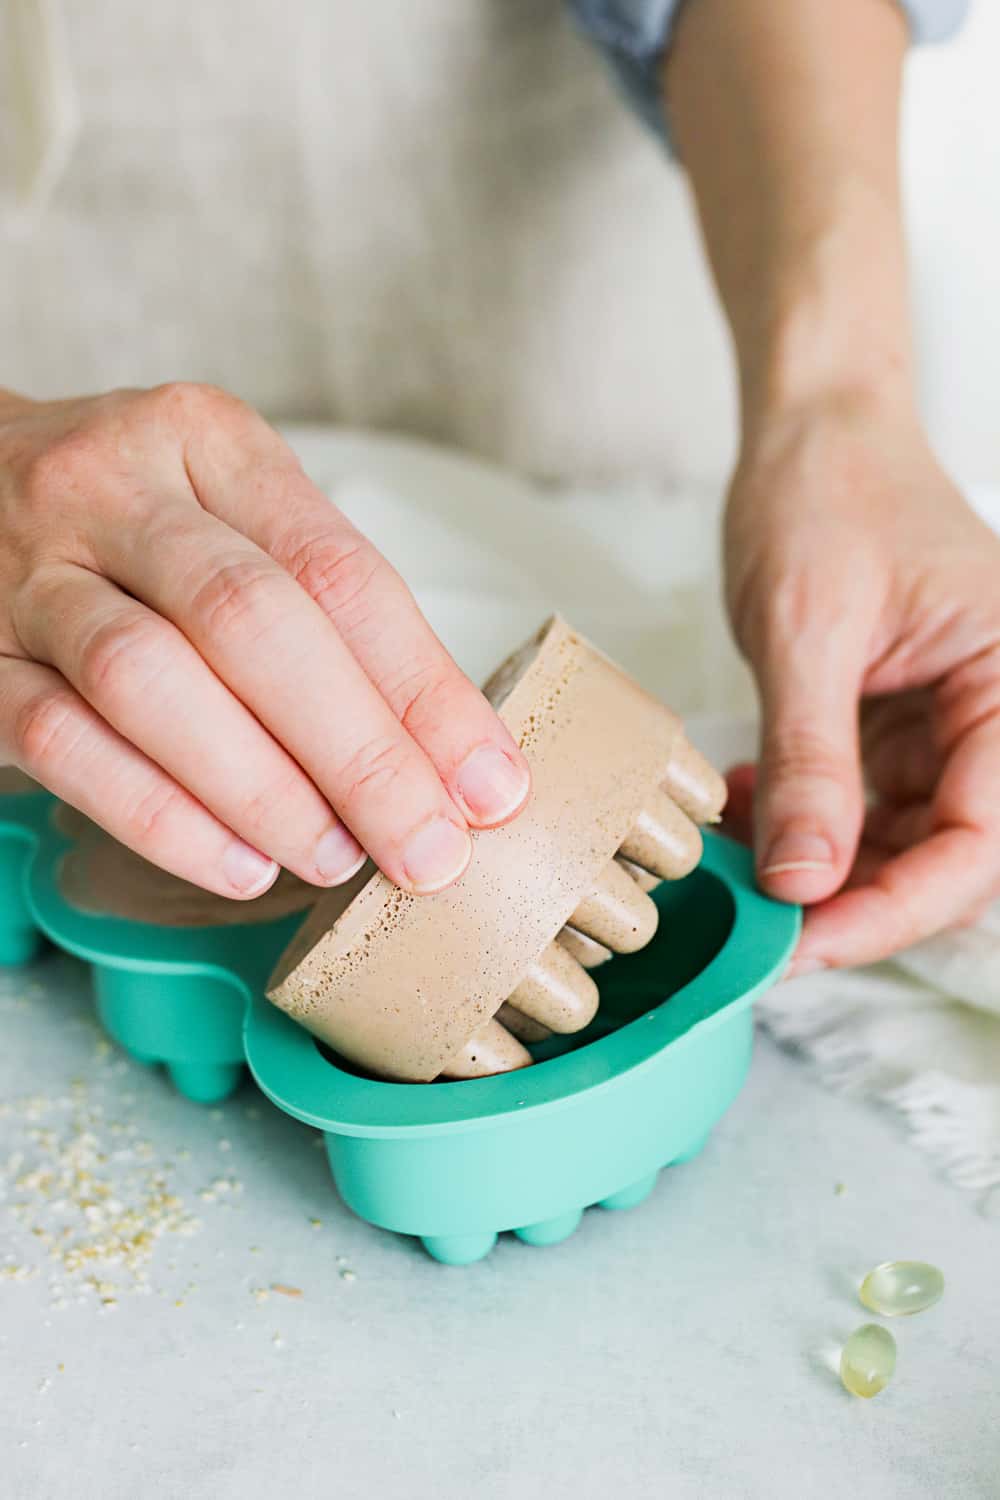
Step 3: Pour the cleaning soap
Pour the cleaning soap into your mould.
Observe: The cleaning soap shouldn’t be scorching. When you pour the cleaning soap combination into your molds whereas the cleaning soap remains to be scorching, the exfoliating elements will sink to the underside.
To keep away from that, let your cleaning soap cool to virtually room temperature, give it one final stir (will probably be barely chunky by that time), after which pour it into your molds. It will assist preserve the exfoliating elements suspended.
If the cleaning soap cooled down an excessive amount of, simply pop it again within the microwave for an additional couple of 30-second bursts.
Step 4: Take away air bubbles
Add rubbing alcohol to a 2 oz spray bottle and spritz the entire soaps with rubbing alcohol to remove bubbles.
Step 5: Let it cool
Let the cleaning soap harden for 12–24 hours earlier than unmolding. The cooling and hardening time can differ, however usually, it takes a number of hours for the cleaning soap to fully harden. Bigger or thicker soaps could take longer.
Inserting the molds within the fridge can expedite the cooling course of, however keep away from freezing, as it could have an effect on the cleaning soap’s texture.
Step 6: Take away from molds
As soon as the cleaning soap has totally hardened, fastidiously pop the cleaning soap out of the molds. When you encounter resistance, let it sit for a bit longer.
The cleaning soap is able to use instantly.
1. Chia Seed and Aloe Exfoliating Cleaning soap
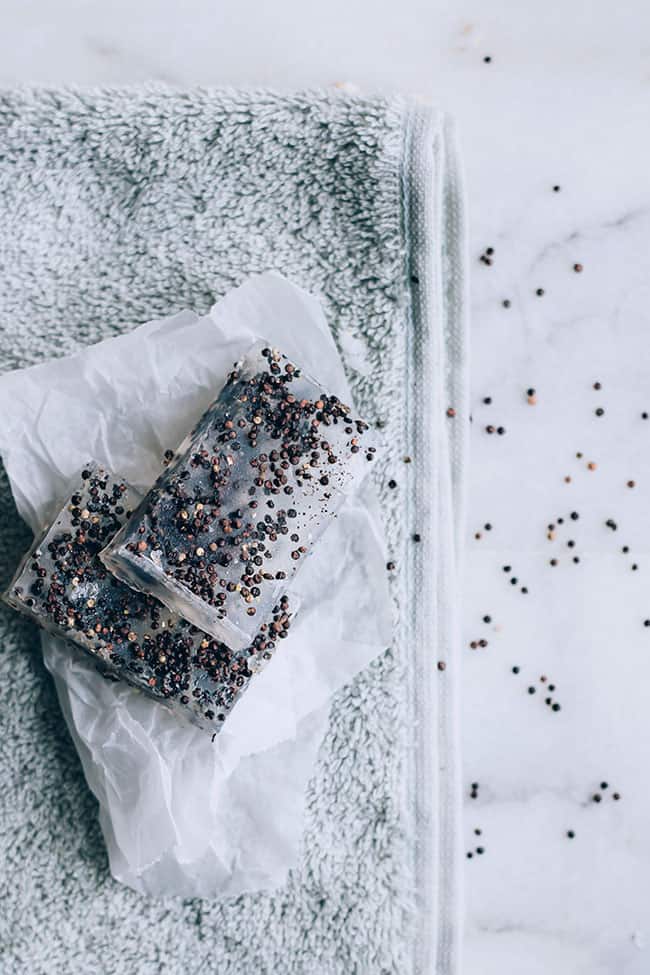
Aloe vera is a pure pores and skin soother and healer, and chia seeds are my new favourite exfoliators.
Their tiny dimension is ideal for delicate pores and skin, and incorporating them right into a cleaning soap retains the mess issue down within the bathe. Plus, they’re environmentally pleasant.
For this model, substitute aloe vera juice for the oil and water and add 1–2 tablespoons of chia seeds.
2. Cornmeal and Calendula Exfoliating Cleaning soap
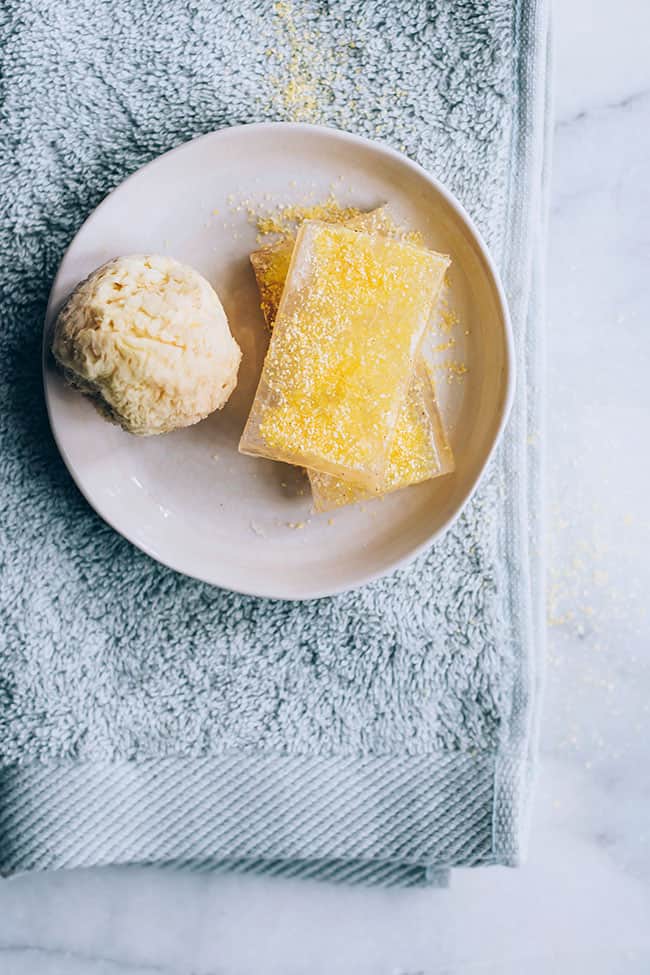
It is a nice model for delicate pores and skin as a result of cornmeal gently exfoliates, and calendula is a pure therapeutic herb. I used three tablespoons of calendula-infused oil (see methods to right here) and added about ¼ cup of cornmeal. The cornmeal tends to settle, so be certain to whisk effectively earlier than pouring the cleaning soap right into a mould.
3. Oatmeal and Cinnamon Exfoliating Cleaning soap
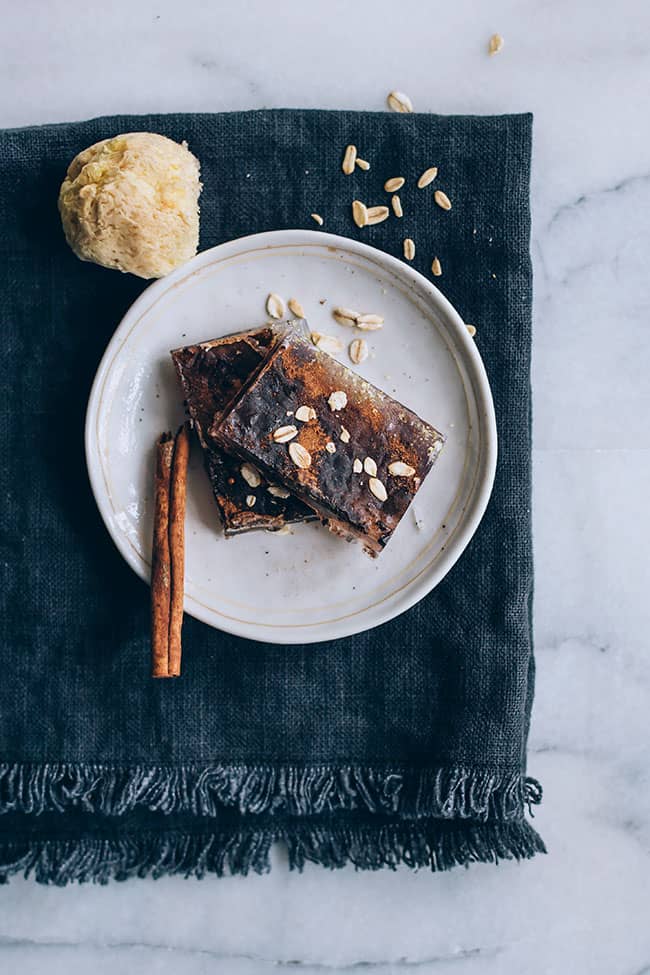
Floor cinnamon provides such a stunning golden brown shade! Add ¼ cup of old style oatmeal (both entire raw oats or you too can finely grind them) and 1 tablespoon of cinnamon to the cleaning soap base once you add the oil and water.
4. Espresso Cleaning soap
I really like the odor of this espresso cleaning soap! And low does a pleasant job of buffing off useless pores and skin in addition to scrubbing away yucky odors on the fingers. However it’s one other one which tends to settle to the underside.
I used ¼ cup of floor, unbrewed espresso, however you would possibly need to begin with 2 tablespoons and add extra, if wanted. The caffeine element in espresso might also assist lower pores and skin redness, irritation, and darkish circles across the eyes.
5. Loofah Cleaning soap
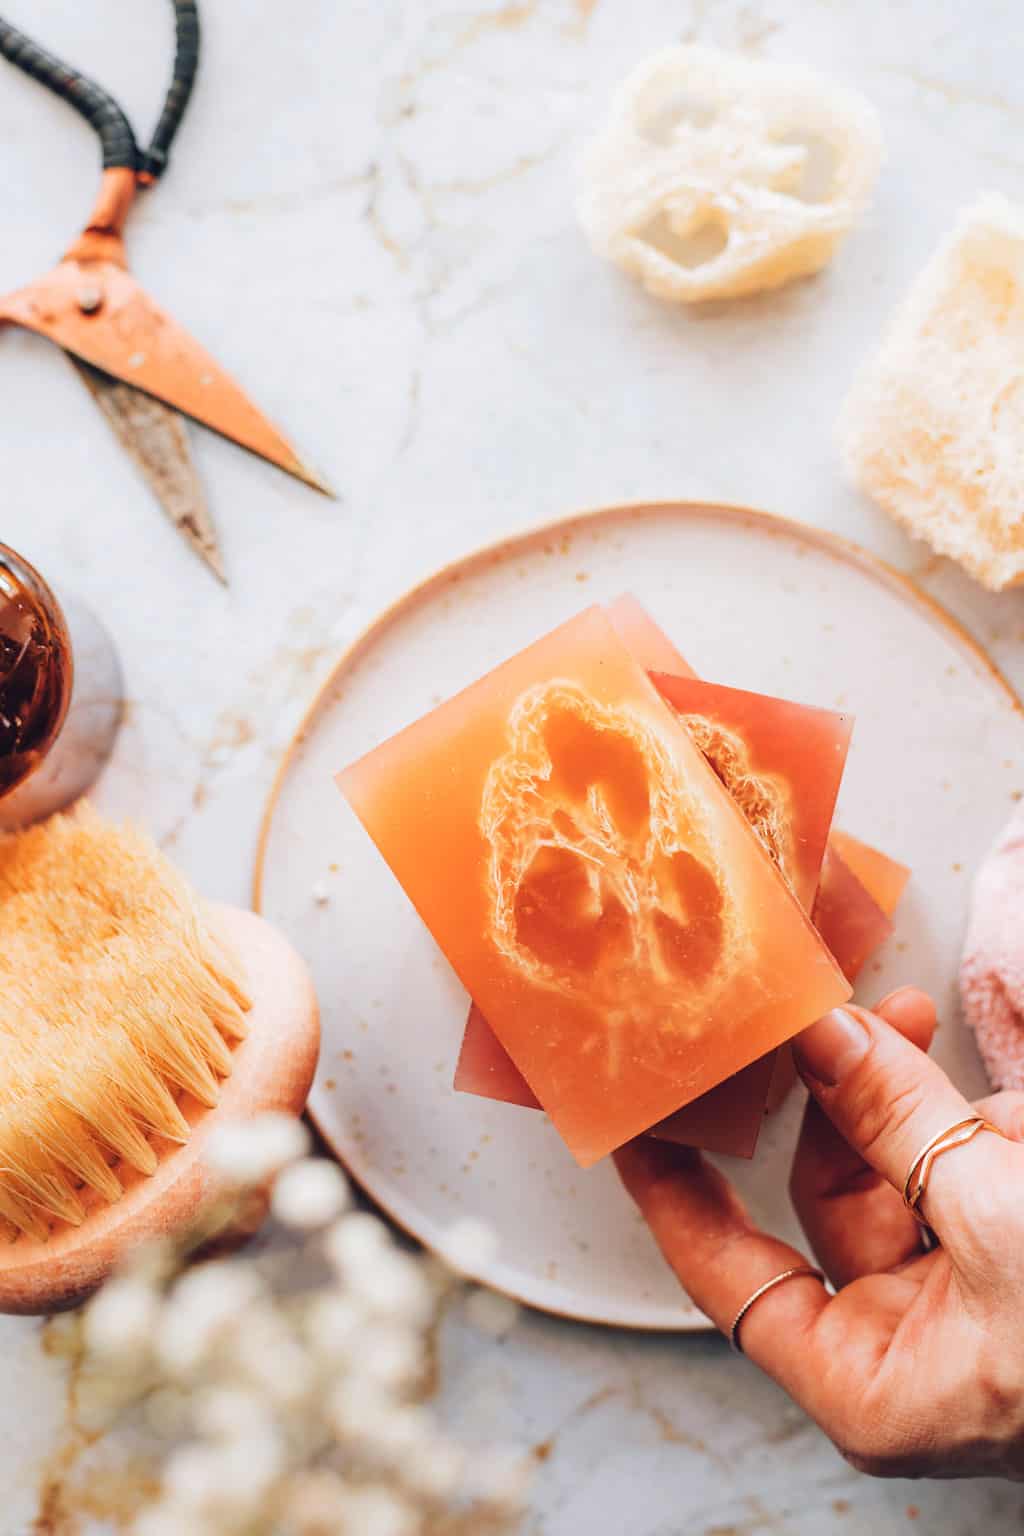
As a substitute of including exfoliating elements to the melted cleaning soap you should use loofah items! Reduce a dry pure loofah sponge into skinny slices and add them to water to reconstitute.
Place 1 loofah sponge in every rectangle mould (trim if wanted). It’s okay if the loofah sponges are nonetheless a bit of damp. Then pour within the melted cleaning soap.
6. Oat Bran Butter Cleaning soap Bars

These cleaning soap bars include all-natural oat bran, which helps polish away useless pores and skin and therapeutic shea butter to keep away from any post-exfoliation burn. Substitute 2 tablespoons of shea butter for the oil, and stir it into the cleaning soap till it is totally melted. Then add 2 tablespoons natural oat bran.
What selfmade cleaning soap creations have you ever give you? Listed here are a number of different glycerin cleaning soap recipes to strive! Get pleasure from your soap-making!
FAQ
Add desired cleaning soap colorants to the container of melted cleaning soap earlier than including any exfoliating elements.
Sure, you possibly can remelt and reuse cleaning soap scraps. Merely reduce them into small items and soften them as you’d with a brand new cleaning soap base.
That is possible resulting from glycerin, which is a pure humectant. To scale back sweating, wrap the cleaning soap bars tightly in plastic wrap after they’ve set or use a cleaning soap base with decrease glycerin content material.
It’s finest to keep away from recent elements as they’ll introduce moisture and trigger mould progress. Plus, they’re going to flip brown and never look so nice after a few weeks. As a substitute, use dried elements like dried herbs or citrus peels.
This submit was medically reviewed by Dr. Rina Mary Allawh, M.D., a dermatologist who practices grownup and pediatric medical dermatology, pores and skin most cancers therapy, and beauty dermatology. Be taught extra about Hey Glow’s medical reviewers right here. As all the time, this isn’t private medical recommendation, and we suggest that you simply speak together with your physician.


:max_bytes(150000):strip_icc()/SafetyRazorSocial-7abf4d7dfbf644f98c8256917a7ccc4a.png)


:max_bytes(150000):strip_icc()/lilycollinsmlkymanisocial-fc598f8f8cfb4cefa70007cd12c32f0c.png)
